Do you want a change in the bedroom?
An easy way to have quite a dramatic change is to put a so-called 'bedskirt' onto your bed.A bedskirt is a fabric that goes from the top of the bed frame down to the floor, and works as a decorative drapery, giving the bed more elegant look, but is also covers what is underneath.
Whether you want it to match different bedclothes or if you want to have a bedskirt that works for all, it is very easy to make it on your own. The more intricate bedskirt, the more work is required. I made a very simple version of a bedskirt, no folds or lace however that depends on your personal preferences.
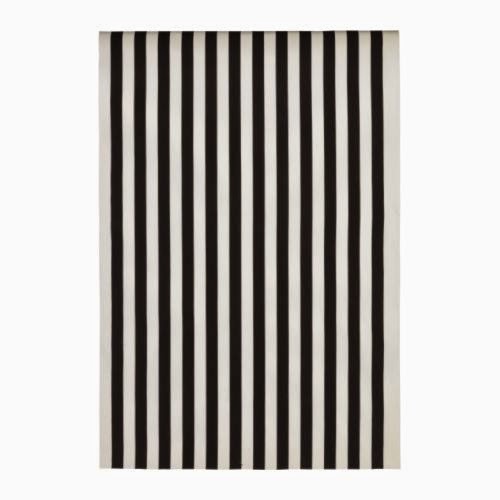
I used a black and white wide striped fabric from Ikea called Sofia, this costs 69kr per meter and is 150cm broad. I chose the wide striped fabric over the narrow striped one because it would look better together with the style in the room, however in this stage you can choose the colour, pattern that fits to your room and style.
 Fabric required for this one was 100x150cm. This did not go around the entire bed, only one long side.
By splicing two pieces of 50x150cm you get 50x300cm. However this depends on how the stripes are aligned and which way you want them. After splicing the pieces together, a hem at the end of the fabric that is down by the floor giving it a nicer look compared to a raw edge.
Keep track of the fabric your not sewing on to make sure that it doesn't get tangled up in the sewing machine, and you end up sewing together parts that are not meant to be together.
When actual bedskirt is finished, it is time to put it on the bed and there are two different ways of doing this, both of which needs to be done by hand.
- The first one, the one I used, is to simply stich it on with a tread.
- The second one is to stich on a Velcro, often used children's shoes, and sewing the other part onto the bedskirt.
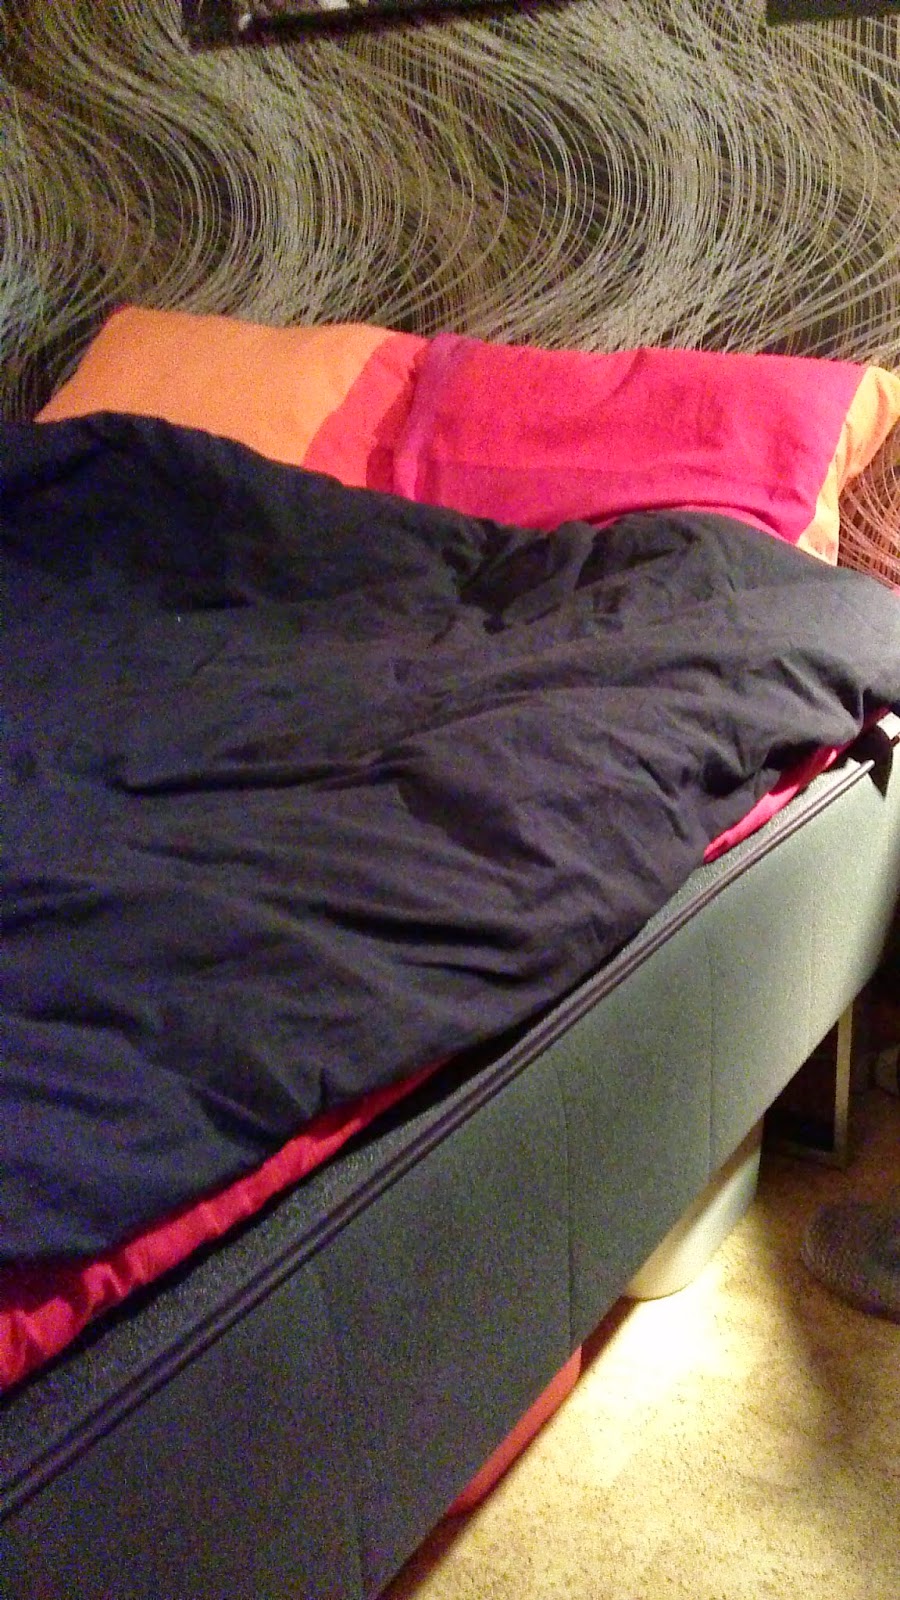
Here is the result, it made quite a difference. And as you can see on the left picture, there are some boxes underneath that are covered by the bedskirt.

